How precision mould cavity inserts are made?
Precision mould cavity inserts are typically made through several intricate steps:

Designing the Mould: This starts with designing the mould on CAD (Computer-Aided Design) software. Mould designers ensure that the mould cavity is of the exact size and shape of the part to be produced.
Choosing the Material: Depending on the size, shape, complexity, and requirement of the final part, a suitable mould material is selected. Common choices are hardened steel, pre-hardened steel, aluminum, and/or beryllium-copper alloy.
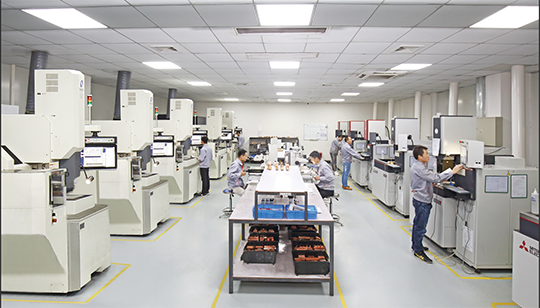
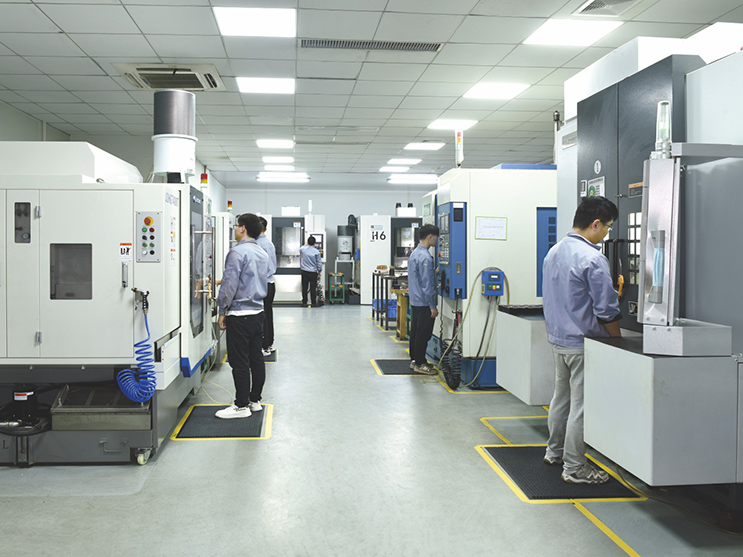
Machining the Mould: The mould design is then translated into a physical mould. This is usually achieved with the help of high-precision machines such as CNC (Computer Numerical Control) milling machines, grinders, and EDM (Electrical Discharge Machining).
Finishing and Polishing: Once the initial mould cavity is machined, it goes through subsequent stages of finishing, such as grinding, polishing, and coating, to achieve the desired smoothness and precision. In this stage, any imperfections or blemishes are removed, ensuring precise and smooth cavities.
Assembly and Testing: After all components, including the mould cavity insert, are completed and treated, they are assembled into the finished mould. The mould is then tested (usually with a moulding press) to check if it can produce the desired part with the required precision.

Keep in mind this is a simplified overview of the process and actual manufacturing practices can be much more complex and varied, depending on the specifics of the part and mould being produced.
Recommended reading
- -"5 Secrets to Perfect Mold Parts Every Time – #3 Will Shock You!"
2025-02-11 - -Injection mold processing, precision mold processing
2024-12-26 - -Why buy precision Injection Molding Spare Parts in China?
2024-12-16 - -Components of an Injection Mold
2024-11-25 - -High Precision Core Insert for Plastic Injection Mold
2024-11-05 - -What are the key steps in heat treatment and surface treatment of molds?
2024-10-31 - -Precision irrigation system mold cavities and mold parts play a crucial role in the manufacturing
2024-10-31 - -How to control the roundness and cylindricity of precision parts machining
2024-09-26 - -Definition and production of mold cavity in casting
2024-09-24 - -OKMOLD has a new look! Discover it at FAKUMA 2024
2024-09-23
